Introduction to DIY Home Decor
Do-it-yourself (DIY) home decor has gained immense popularity among homeowners and renters alike, offering a creative outlet that transforms living spaces into personalized havens. By engaging in DIY projects, individuals can exercise their artistic flair while crafting unique pieces that resonate with their personal comfort and aesthetic preferences. This aspect of DIY home decor not only cultivates creativity but also encourages an emotional attachment to the work produced.
One of the primary benefits of embarking on DIY home decor projects is the ability to customize spaces exactly as desired. Whether it involves creating custom wall art, refurbishing old furniture, or designing decorative accents, these projects allow individuals to tailor their environment to reflect their personal style. This process of personalization can build a stronger sense of ownership and pride over one’s living space, which is especially meaningful in rented properties where long-term changes may not be feasible.
Another significant advantage of DIY home decor is its cost-effectiveness. Over time, purchasing ready-made decor can become expensive, especially when looking to update and refresh spaces. By opting for DIY solutions, individuals can save money while still achieving stunning results. Many projects utilize affordable materials or repurpose existing items, enabling individuals to create beautiful decor without straining their budgets.
Furthermore, participating in DIY home decor projects can be an incredibly rewarding experience. It provides not only a sense of accomplishment but also an opportunity to develop new skills. With a wide array of simple projects available, beginners can engage with DIY in manageable ways, gradually increasing their expertise and confidence. This blog post will explore ten easy and enjoyable DIY home decor projects that will inspire beginners to enhance their living spaces creatively and economically.
Project 1: Painted Flower Pots
Transforming plain flower pots into vibrant decor pieces can greatly enhance the aesthetic appeal of your home. This simple DIY project is not only fulfilling but also perfect for beginners looking to add a personal touch to their living spaces. To get started, gather the necessary materials: terracotta or ceramic pots, acrylic paint in various colors, paintbrushes of different sizes, painter’s tape, and a sealant for protection.
Begin by cleaning the flower pots thoroughly to remove any dust or residue. Allow them to dry completely before proceeding. To create designs that stand out, consider using painter’s tape to mark off sections of the pot. This method allows for crisp lines and can be utilized to create stripes, geometric patterns, or even abstract designs. Once the tape is in place, select your desired paint colors and start applying the paint using your chosen brushes. For a uniform finish, apply two to three coats of paint, ensuring each layer dries before adding the next.
For added creativity, you can experiment with techniques such as sponge painting, stenciling, or even splatter painting to achieve unique effects. Remember to let your imagination guide you, as there are no strict rules when it comes to DIY home decor projects. Once your design is complete, it is important to protect your painted pots with a sealant. This will not only enhance the colors but also ensure durability, especially if the pots are used outdoors.
With these straightforward steps, you can create beautiful painted flower pots that serve as eye-catching decor or thoughtful gifts. This beginner-friendly project is a wonderful way to introduce your personal style into your home while enjoying a creative afternoon.


Project 2: DIY Canvas Wall Art
Creating your own canvas wall art is not only a rewarding endeavor, but it also allows you to personalize your living space in a unique way. To get started, gather the following materials: an artist’s canvas, acrylic paints, paintbrushes, painter’s tape, and a palette. These items can be acquired from your local craft store or online retailers, making them easily accessible for beginners.
Once you have your materials, the first step is to choose a design or theme that resonates with your style. This could be anything from abstract shapes to floral patterns or even quotes that inspire you. Sketching a rough outline on paper can help visualize the final product. After deciding on a concept, prepare your canvas by applying painter’s tape to create interesting borders or sections where you want specific colors.
Next, it’s time to apply the paint. Using your paintbrushes, fill in the sections with your chosen colors. It’s advisable to start with lighter colors, gradually moving to darker hues as you progress. Blend different shades to create depth and interest; this is where creativity plays a significant role. Allow each layer to dry before applying additional colors to prevent them from mixing unintentionally. This drying process can also be an excellent opportunity to step back and reassess your design.
Once your artwork has dried completely, it’s important to consider how best to display it. Decide on the optimal location in your home where the canvas wall art will be hung. Use picture hooks or adhesive strips for easy mounting, ensuring that the artwork is eye-level for added visual impact. With just a few simple steps, you’ve transformed a blank canvas into a stunning piece of handmade decor that reflects your personal style.
Project 3: Upcycled Mason Jar Organizers
Mason jars serve as an excellent starting point for DIY home decor projects, particularly when it comes to organization. Given their versatility and charming aesthetic, these glass containers can be transformed into stylish organizers suitable for various rooms in your home. This section will guide you through the process of upcycling mason jars into practical and visually appealing storage solutions.
To begin, gather your materials. You will need clean mason jars, decorative paint, brushes, twine, and labels. You might also consider embellishments such as buttons, ribbons, or stickers to add a personal touch. Ensure that your mason jars are free from any labels or residues to create a smooth surface for painting and decoration.
Start by painting the exterior of the jars with your chosen color. A light, pastel color can give your jars a fresh and airy feel, while a bold color may bring a pop of vibrancy. Allow the paint to dry completely before proceeding. Once dry, you can add any additional decorative elements, such as wrapping twine around the neck of the jar or affixing labels to identify the contents—this both enhances the visual appeal and provides a clear organization system.
These upcycled mason jars can serve various purposes, from holding kitchen utensils to organizing office supplies or storing crafting materials. Place them on shelves, desks, or countertops for a practical yet decorative solution. Consider grouping jars of varying sizes to create an organized display that complements your existing decor.
Incorporating upcycled mason jar organizers into your home not only maximizes space but also allows for a creative outlet. This beginner-friendly project can be easily adapted to fit your personal style, making it a worthwhile addition to any DIY home decor endeavor.
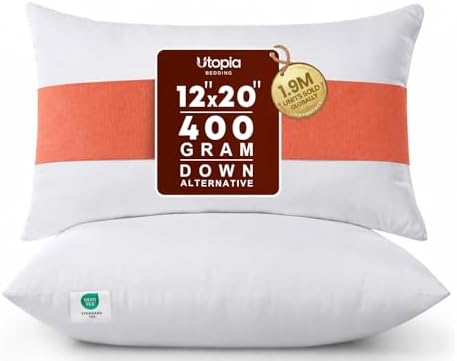
Project 4: DIY Throw Pillows
Throw pillows are a versatile and stylish addition to any home, allowing you to infuse your space with color, texture, and personal flair. Creating your own throw pillows is not only a fun project but also an excellent way to enhance your decor without the hefty price tag of store-bought options. For those with minimal sewing experience, this project focuses on using basic sewing techniques, and it is approachable for beginners.
To begin, select your fabric. Cotton or linen are recommended because they are durable and easy to sew. You can choose solid colors, patterns, or even upcycle old clothing or fabric scraps to express your unique style. Aim for fabric that complements your existing decor to create a cohesive look.
Next, decide on the dimensions of your pillows. A standard size is 18×18 inches, but feel free to customize based on your preferences. Cut two identical squares or rectangles from your chosen fabric, ensuring you leave an extra half-inch on each side for seam allowances. This will ensure that your pillows are properly finished and do not fray at the edges.


To sew your pillow, place the two fabric pieces together, lining up the edges with the right sides facing in. Pin them in place, then sew along three sides using a straight stitch, leaving one side open to fill the pillow. After sewing, turn the pillowcase right side out and fill it with stuffing, which can be polyester fiberfill, or for a more eco-friendly option, use old fabric scraps or foam scraps.
Once filled to your desired firmness, carefully close the open edge by folding the fabric inward and sewing it shut either by hand or machine. Decorative throw pillows can elevate the ambiance of your living room or bedroom, making this simple DIY project worthwhile. The process not only saves money but also allows you to create something uniquely yours, ultimately enhancing your home’s decor.
Project 5: Customized Picture Frames
Personalizing picture frames is an engaging DIY home decor project that allows beginners to unleash their creativity while also adding a personal touch to their living spaces. To start, one must select the right type of frame, which can often be found at craft stores, thrift shops, or even in one’s own home. Wooden frames tend to be the easiest to customize, as they can be painted or stained according to personal preferences.
Begin by removing the glass and backing from the selected frame. A good first step is painting the frame in a color that complements its surroundings. Acrylic paint is ideal because it dries quickly and is available in a wide array of colors. For a rustic look, distressing techniques can be applied by lightly sanding the edges after painting.
Moreover, embellishments can significantly enhance the design of your customized picture frames. Adding fabric, decorative paper, or stickers can introduce textures and patterns that reflect personal style. For additional flair, small items like buttons, shells, or beads can be glued onto the frame. It is essential to ensure that any embellishments used do not overpower the photograph they will ultimately hold.
Once your frame is personalized, consider how it will be displayed creatively around your home. A gallery wall composed of framed pictures in varied sizes can make a striking statement. Alternatively, grouping several customized frames on a side table or shelf can create a cozy vignette. Using picture frames in unconventional ways, such as using them to display children’s artwork or as mirrors, can also add unique character to your home decor.

By taking the time to craft customized picture frames, individuals can create meaningful displays that celebrate their memories while enhancing the aesthetic appeal of their homes.
Project 6: Upcycled Old Furniture
Transforming old furniture into stylish, functional pieces is an increasingly popular trend among home decorators. For beginners, upcycling provides an opportunity to exercise creativity while making practical changes in their living spaces. This project not only minimizes waste but also offers a sense of satisfaction and accomplishment as your old furniture becomes a unique addition to your home decor.
One of the simplest methods to breathe new life into furniture is through painting. Choose a high-quality paint specific for the material of your furniture, whether it be wood, metal, or plastic. A chalk paint is particularly popular for its matte finish and ease of use. Before applying paint, it is crucial to prepare the surface adequately by cleaning and lightly sanding it. This step will ensure better adhesion and a flawless finish. A primer can also be beneficial, especially when working with darker shades or glossy surfaces.
Refinishing is another effective way to revitalize old furniture. If you have wooden pieces, removing the existing finish with a chemical stripper or sanding can reveal the natural grain beneath. Once stripped, you can restain or seal the wood to enhance its aesthetic appeal. Using stains that contrast with or highlight the wood’s natural color can create a beautiful, vintage look. Don’t forget to apply a clear topcoat for added durability.
Additionally, adding new hardware or aesthetic details like stencils or decals can further personalize your upcycled furniture. A simple switch from dated knobs to modern handles can dramatically change the appearance of a cabinet or dresser. The process of upcycling old furniture is limited only by your imagination, making it an ideal project for beginners looking to enhance their surroundings with minimal effort.
Project 7: DIY Wall Shelves
Creating your own wall shelves is a rewarding project that enhances both functionality and decoration in any room. For beginners, this DIY project involves straightforward materials and tools, making it an ideal choice for those new to crafting. Below, you will find a detailed guide that includes a list of materials, safety tips, and step-by-step instructions to help you create beautiful wall shelves.
Materials Required:
- Wood boards (select desired dimensions)
- Wall brackets (quantity based on board size)
- Wood screws (compatible with brackets)
- Wood stain or paint (optional for finishing)
- Level
- Drill
- Screwdriver
- Pencil
- Measuring tape
- Safety goggles
- Stud finder (optional, depending on wall type)
Safety Tips:
- Always wear safety goggles when drilling to protect your eyes from debris.
- Ensure the workspace is clean and free of clutter to avoid accidents.
- If using a stud finder, always verify the location of studs before drilling into walls.
Step-by-Step Instructions:
- Begin by measuring the desired location for your shelves. Use the level to mark straight lines where the brackets will be placed.
- Next, use the stud finder to locate the wall studs, as these will provide the most secure foundation for the shelves.
- Once you have marked the location, attach the brackets to the wall using a drill and screws. Make sure they are level to ensure the shelves will sit evenly.
- Prepare the wood boards by cutting them to size if necessary. Optionally, stain or paint the boards to achieve your preferred finish.
- Finally, place the wood boards onto the brackets, ensuring they are securely supported. Your DIY wall shelves are now complete, ready to display books, plants, or decorative items.
With these simple steps, you can create functional and stylish wall shelves that enhance your decor. Enjoy the satisfaction that comes from completing a DIY project with tangible, everyday use.
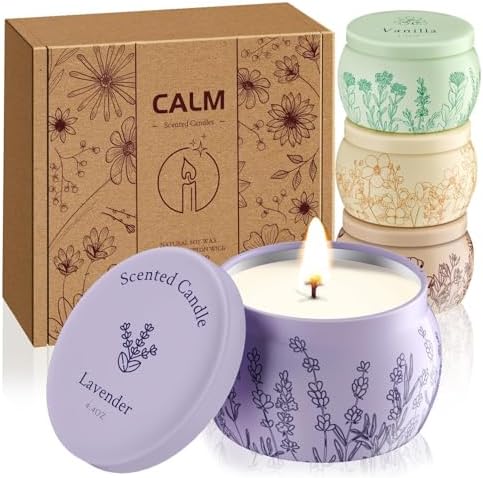
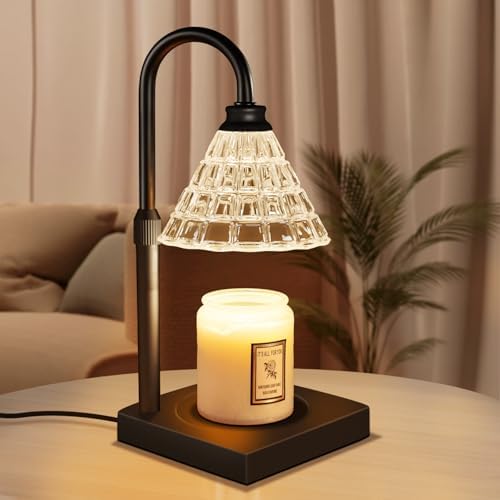
Project 8: Handmade Candles
Creating handmade candles is an enjoyable and rewarding DIY project that can enhance the ambiance of any room in your home. With a few easily accessible supplies, beginners can embark on this creative endeavor, crafting unique candles that can double as both decorative pieces and fragrant additions to your living space.
To start making your own candles, you will need some essential materials: wax, a wick, a heat source, and a suitable container. Paraffin wax is the most common option, but alternatives such as soy wax or beeswax are also popular for their eco-friendly properties. Begin by melting the wax in a double boiler or microwave, ensuring that you monitor the temperature closely, as overheating can compromise the wax’s quality.
Once the wax has melted completely, you can add your favorite scents using essential oils or fragrance oils. This is where you can let your creativity shine—choose floral, fruity, or earthy scents to match your home’s atmosphere. Moreover, adding color can elevate your candles even further; simply include dye chips or liquid colorants specifically designed for candle making. Be sure to stir thoroughly to achieve an even hue throughout the wax.
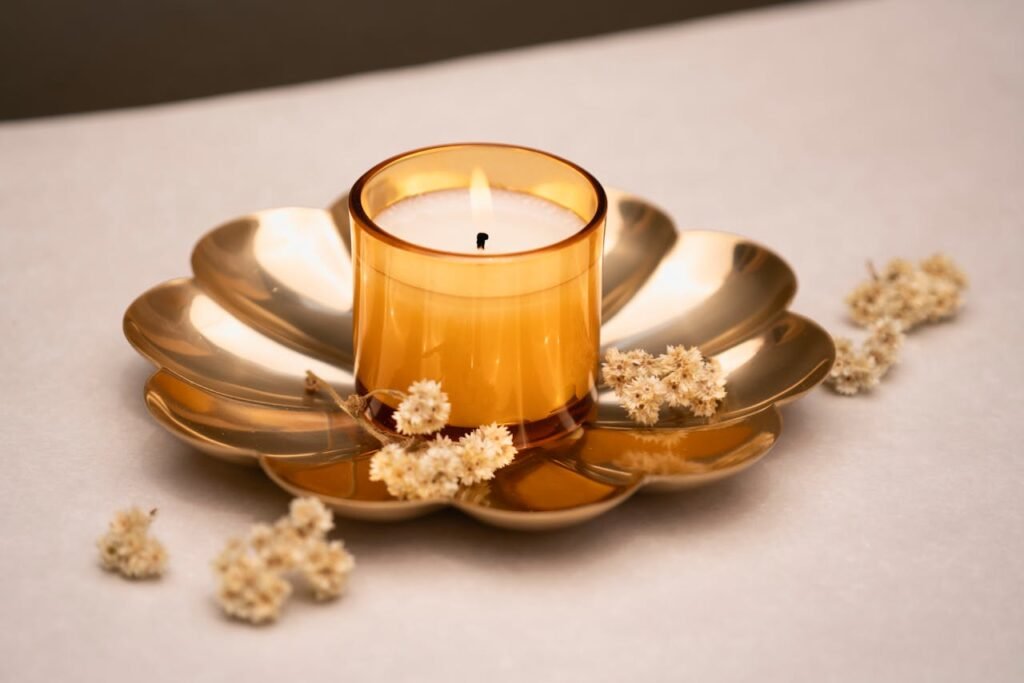
Next, prepare your containers by securing the wick at the bottom using a drop of melted wax or a wick holder. Carefully pour the scented and colored wax into the container, taking care to keep the wick centered. Allow the candles to cool and harden completely, which typically takes several hours. Once they are set, trim the wick to about half an inch above the wax surface for optimal burning.
Lastly, you can elevate the aesthetic of your handmade candles by decorating the jars. Consider using ribbons, stickers, or even painting the outside of the containers to match your home decor. With these tips, you will create beautiful and functional candles that make great gifts or personal treasures.
Project 9: Wall Décor with Fabric Scraps
Transforming fabric scraps into unique wall décor is an ideal project for beginners seeking to enhance their home aesthetics while exercising resourcefulness. Utilizing leftover fabric remnants not only minimizes waste but also encourages a creative exploration of colors, patterns, and textures. This project can take various forms, such as a fabric wreath or a wall quilt, each offering an opportunity for personal expression.
To start, gather an assortment of fabric scraps in diverse colors and patterns. Cotton, linen, or felt fabrics work best due to their versatility and ease of manipulation. For a fabric wreath, choose a sturdy base, such as a foam or wooden ring, to attach your scraps. Cut the fabric into uniform strips or squares to simplify the arrangement process. Begin by layering the pieces around the ring, securing them with hot glue or by tying them in knots. Varying the length and arrangement of the fabric will create a more dynamic visual interest, allowing each piece to stand out.
Alternatively, for those inclined towards a more intricate project, consider making a wall quilt. This involves cutting fabric into squares or rectangles and sewing them together to create a cohesive design. Beginners can opt for a simple patchwork pattern or experiment with geometric shapes. Once the quilt top is assembled, back it with a plain fabric, and add batting to give it texture. Finally, quilt the layers together, either by hand or with a sewing machine, and hang it using a wooden dowel or a decorative clip.
Arranging fabric art creatively on walls can provide an inviting and personal touch to any room. Users can mix sizes, use colorful frames, or create a gallery wall effect for a more eclectic appearance. With a little time and effort, the once discarded fabric scraps can be transformed into beautiful and meaningful wall décor.
Conclusion and Final Thoughts
Throughout this blog post, we have explored ten easy DIY home decor projects that are perfect for beginners. Each of these projects not only requires minimal materials and tools but also offers a wonderful opportunity to express your creativity. From creating charming wall art and upcycling old furniture to designing personalized vases and stunning centerpieces, each project emphasizes the enjoyment and satisfaction that come with making something unique for your home.
These DIY decoration ideas provide a personal touch, allowing you to customize your living space to reflect your taste and style. Engaging in these home decor activities can lead to a deep sense of accomplishment and pride. Moreover, they can transform a space into a warm and inviting environment, showcasing your individual flair and personality. Every project discussed can be tackled at your own pace, making it easy for anyone—regardless of skill level—to get started.
We encourage you to venture into the world of DIY home decor and to explore your own creative potential. The process of creating is enriching, and the results can be profoundly rewarding. As you embark on your DIY journey, consider documenting your endeavors and sharing the final results on social media platforms. This not only inspires others but also allows you to connect with a community of like-minded DIY enthusiasts. Armed with the projects we’ve detailed, you are now ready to bring your vision to life. Happy decorating!